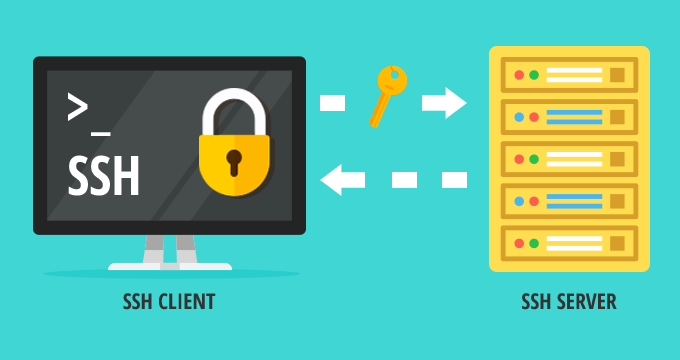
- Create a .ssh directory in your home directory if it does not already exist:
$ mkdir /Users/username/.sshor
$ mkdir /home/username/.sshGo to the .ssh folder:
$ cd /Users/username/.ssh$ cd /home/username/.ssh - Run ssh-keygen to generate an SSH key-pair.
Run the following command in the .ssh folder to create a key pair. For
key_type, specify either RSA (rsa) or ECDSA (ecdsa). At the prompt for the key-pairs filename, press ENTER to use the default name id_rsa or id_ecdsa, or enter a different name, such as your username. For a passphrase, either enter a password or press return twice to leave it blank:$ ssh-keygen -t key_type - Retrieve the public key file.
The key pair is generated to your home directory’s .ssh folder. For example, assuming you generated the key with the default name id_rsa:
/Users/username/.ssh/id_rsa.pub
or
/home/username/.ssh/id_rsa.pub
Provide the public key file (for example, id_rsa.pub) to your server administrator so that it can be set up for your server connection.
- Start a transfer using public key authentication with the ascp command.
To transfer files using public key authentication on the command line, use the option -i private_key_file. For example:
$ ascp -T -l 10M -m 1M -i ~/.ssh/id_rsa my_file.txt [email protected]:/spaceIn this example, you connect to the server (10.0.0.2, directory /space) with the user account user_name and the private key ~/.ssh/id_rsa.
Or Another way
$ ssh-keygen -t rsa -f ~/.ssh/ssh_file_name -C user_name
$ sudo -s ssh -i ~/.ssh/ssh_file_name [email protected] (Server IP Address)
How to convert private and public keys from SSH key
Steps to convert private and public keys from SSH key
Tool Used:
- Puttygen (PuTTY Key Generator)
- WinSCP
Steps to perform:
- Open PuTTY Key Generator.
- Load SSH key into software, your private key (
*.ppkfile). - Copy your public key data from the “Public key for pasting into OpenSSH authorized_keys file” section of the PuTTY Key Generator and paste the key data to the “authorized_keys” file (using notepad) if you want to use it
- Save private and public keys into the desired folder.
Steps to connect Filezilla using the private key
- Open filezilla software.
- Click On File Menu -> Open Site Manager or press (CTRL + S)
- Press “New Site” and enter Sitename here.
- Select protocol as SFTP/SSH (SSH File Transfer Protocol).
- Enter Host Name or Server IP Adress (System) in Host.
- Enter the port number, if using the specific port on the server otherwise leave it.
- Select login type to KEY File.
- Enter user_name of ssh file.
- Browse and Upload the private key.
- Hit connect to connect FileZilla with the server.


